You don’t have an email account set up by default. It might look like the default username is configured as an email, but you’ll have to enable it as an email address before you can validly receive an upcoming or send with it.
The following steps below will guide you through all the account creation and accessing the email in the cPanel dashboard.
Step 1 – Log into your web hosting Cpanel
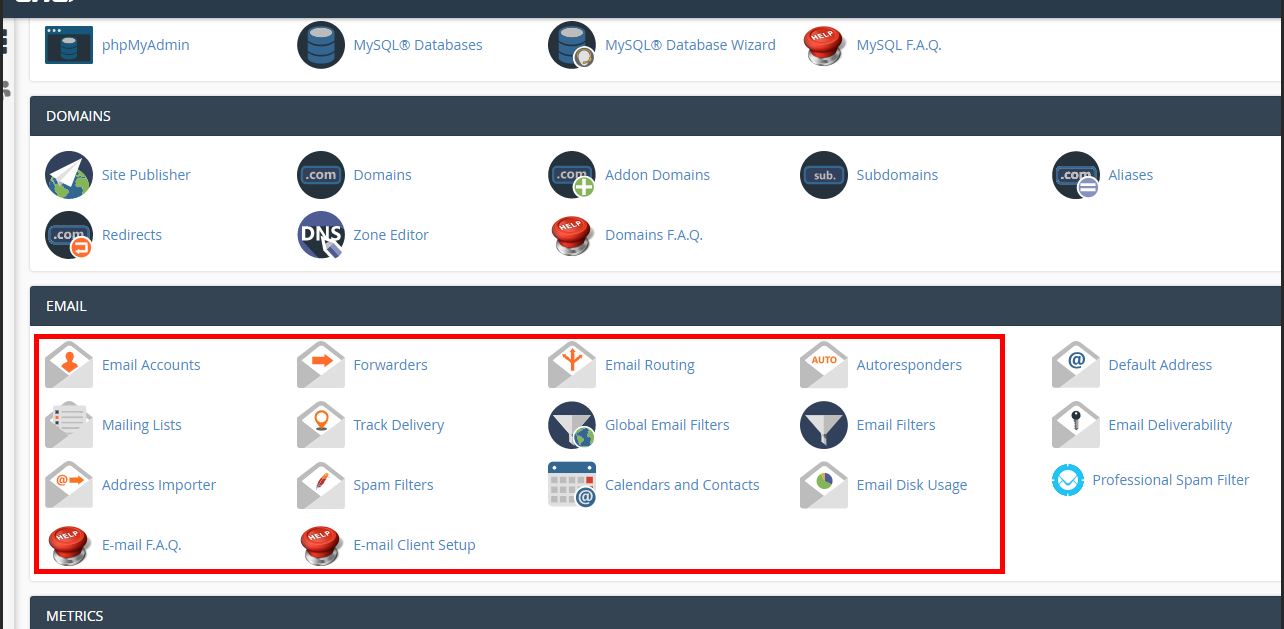
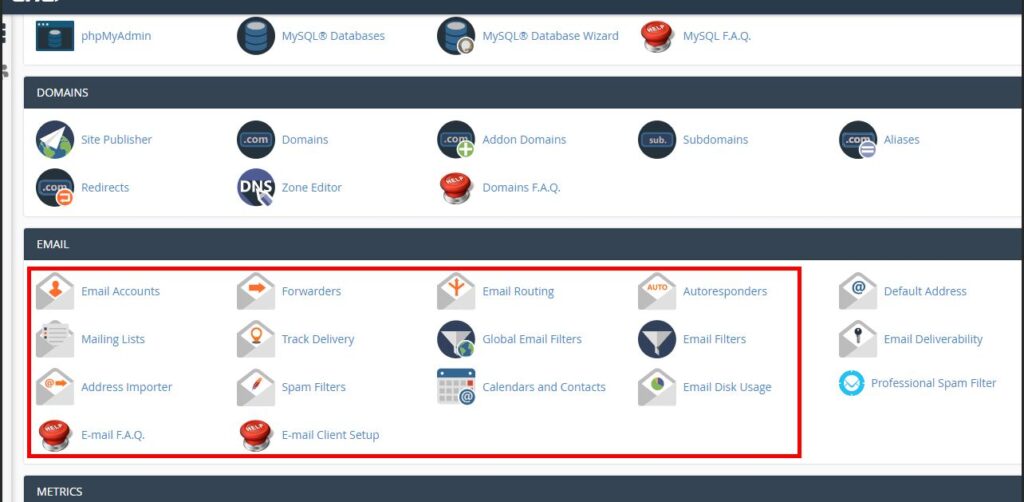
On the Cpanel dashboard, select an Email account and proceed to the account creation page click on create and head to the next step.

Step 2 – create an email account
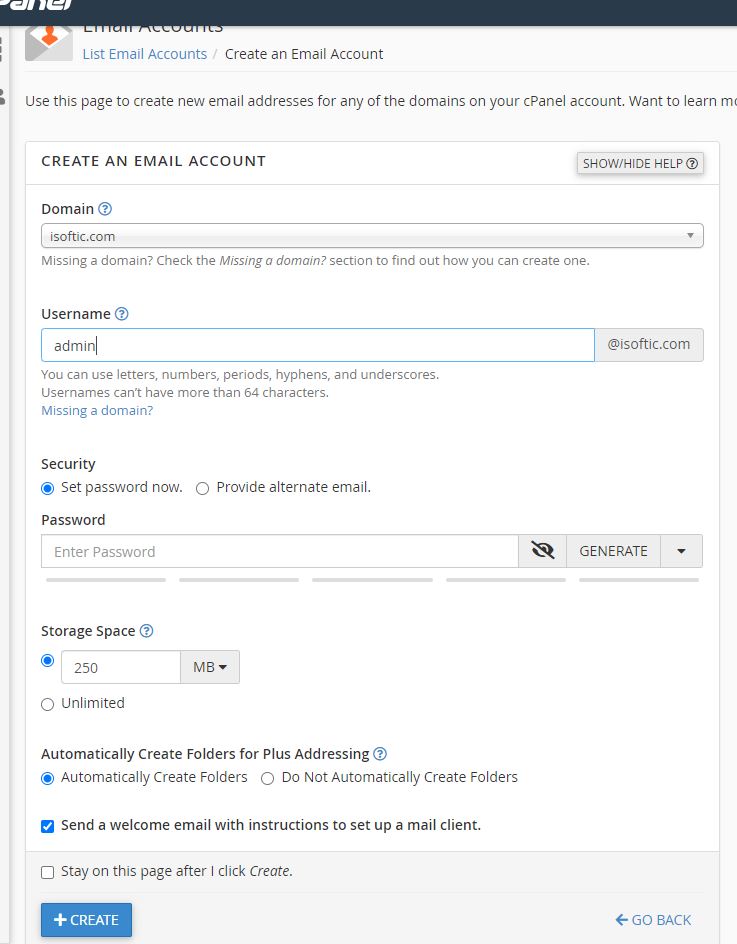
At this stage,
- Select the domain, e.g. (isoftic.com).
- Enter your username like; admin, support, or contact. after the account, it will be in this form admin@isoftic.com.
- Set your password to log into your email account
- Set the account storage space.
- Click on the create button.
Also read How to convert image(s) to QR code
At this step looking at the image below, allocating storage for the new email account is very vital especially when your hosting plan storage is very low.
I would recommend 250MB for a 20GB web storage account.

Step 3 – Accessing the email account
You have successfully created your custom email account using the above methods.
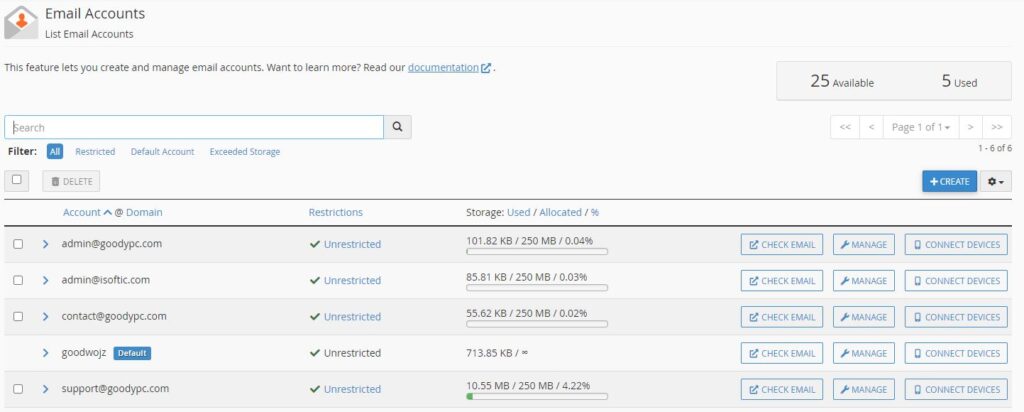
As you have seen, when you hit the create button, the page redirects automatically to the emails list page. See the image below. Click on the check email button to access your email account.

Final Note
Account protection is very important, to avoid getting stuck on the way by known or unknown hackers.
Use a strong password to protect your email account is important to deter a brute force attack. your browser can be the easiest pass for hackers to hijack, so avoid storing your password on your browser to prevent cookies hijacking.


